
Hello All! Welcome to my blog. It has been a while since my last and first post “DIY Fireplace Makeover” which if interested please visit. Tis the season to garden, and today I’m going to talk about how to create a garden bed from scratch and by hand. I will go ahead and give you a heads up and let you know that this is a very labor intensive project, so if you are up for the challenge please read on.
Here we go.
First, you will need to find the perfect spot to build your garden. A good spot is one where there is plenty of sun and the soil has proper drainage.

Next, mark off your garden’s measurements with sticks and rope. This step is optional, but I find it helpful in evaluating if you want to have a bigger or smaller garden depending on the size you have available. My garden ended up being 8ft x 10ft.

Now, it is time for the supplies.
You will need (based on my garden’s measurements)…
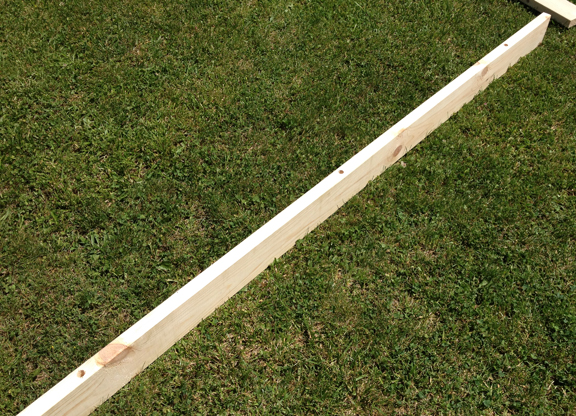
2 – 2x6x8 Wood Boards
2 – 2x6x10 Wood Boards

12 – ½ in x 24in Steel Rebar Pins

12 – 2ft Round Steel Garden Stakes

4 – 2ft x 10ft, ½ Mesh, 19 Gauge Hardware Cloth/Galvanized Chicken wire

1 – Long 5/8 Spade Bit (if they don’t have the long Spade Bit in stock, then get a 5/8 Spade Bit with a 12” Hex Key Extension)


Wood Screws (8 x 1 ½ in)

Patio/Deck Nails (8d 2- ½ in)

Staple Gun w/ Staples

Finally any garden tools such as a shovel, edger and spade.
Now take all your wood boards (2 – 2x6x8 and 2- 2x6x10 Wood Boards) and drill 3 holes in the side of each board equal distance apart. Go all the way through the board.


Once that is done, you will need to attach the boards together to create your frame. I used screws and nails both to give the frame solid support.


I then made sure the frame was where I wanted my garden to be, and used my edger to gently outline the outside of the garden. If you don’t have an edger, then a shovel or spade would work here as well. Once completed, you will be left with a subtle impression to go by.


Next go back over the impression with your edger or shovel and start cutting the top layer of the sod.


Once you have completed cutting the outline, start cutting the squared off sections. This will make it easier to dig the top layer of the sod out.

I used the double dig method for the next steps. I found a great video on YouTube that will help give you a better idea of this technique. This is a must watch if you want to completely understand how to do this. You can view the video here: “How to make a double dig vegetable bed”
Time to start digging out the garden!
To begin, dig out the top layer of sod and place it to the side. You will be reusing this layer so don’t discard it.


Next dig out the second layer of dirt and put it aside as well.


Once you are done with digging the second layer of soil, put the first layer of sod you have set aside back in the same area that you just dug with the grass facing down and the dirt facing up. You will then take the second layer soil and put it on top to cover. Continue this process until you get to the end of your garden bed.

When you’re done with digging, put the wood frame back over the edges of the garden bed. Next, you will hammer the Steel Rebar Pins in all 3 holes of each board. This will keep your wood boards in place.

Next, you will take your Round Steel Garden Stakes and hammer three stakes on the outside of each board. One goes in the middle and the other two on the ends. Only hammer these half way into the ground.

Next, unravel the chicken wire and flatten it out. Take the thinner wire that was holding the mesh together and cut smaller pieces to use as ties for connecting the chicken wire mesh to the garden stakes.


When you are done with that step, go around each board and staple your chicken wire to the boards.


You are now done and ready to plant your seeds. We have two gardens and this one we used for our pumpkins. If you’re interested in seeing how I built the Trellis in the picture below, visit my blog post titled “DIY Garden Trellis”.
.

Our second garden is growing in well.

Thank you for visiting my blog and reading through this post. I hope it helps you start your own garden. Cheers! Jason

Thanks for pricing things out…that gives me an idea of what I am looking at! Thank you!